

WordPress not sending emails is one of those problems that seems random but actually has a very clear reason behind it. Out of the box, WordPress uses something called PHP mail to handle emails.
The problem is that PHP mail is unreliable; emails sent through it either end up in spam or don’t arrive at all. Most people don’t even realize this is happening until someone tells them they never got a message.
The solution is SMTP, and setting it up is simpler than it sounds.
So What Even Is SMTP?
SMTP stands for Simple Mail Transfer Protocol. Instead of your website trying to send emails on its own through the server, SMTP lets it send emails through an actual email account like Gmail or Outlook.
That makes a huge difference in whether your emails actually get delivered.
Why Does This Matter?
Think about how many things on your WordPress site rely on email working properly:
- Someone fills out your contact form
- A user tries to reset their password
- You get an order notification from your store
If PHP mail is failing silently in the background, none of these are getting through. SMTP fixes all of that by making your emails look legitimate to providers like Gmail and Outlook instead of looking like they came from nowhere.
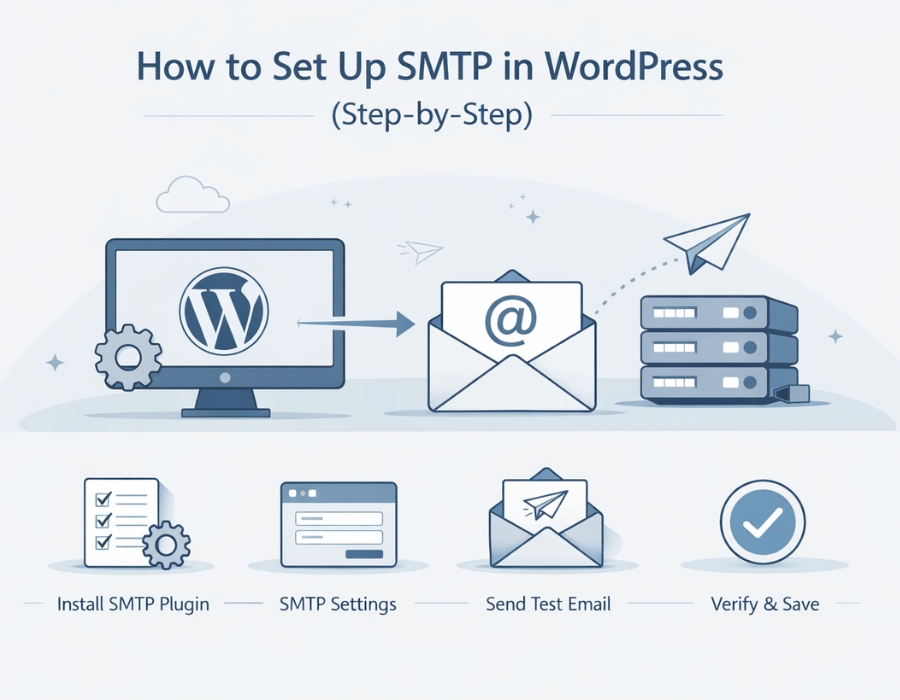
Here is how to actually set it up:
Get a Plugin
Just install a plugin called WP Mail SMTP, it’s free, it’s the most widely used one for this, and it walks you through everything.
Install it from your WordPress dashboard and activate it.
Pick Your Email Provider
Once you open the plugin settings, it’ll ask how you want to send emails. You’ll have a few options like Gmail, Outlook, or a custom SMTP provider.
For most people, Gmail is the easiest starting point. If you’ve already got a Gmail account, you’re halfway there.
Fill in Your Details
Next, you’ll put in a few basic things:
- Your email address
- SMTP host
- Port number
- Encryption type (TLS or SSL)
If you pick Gmail or Outlook, the plugin usually fills most of this in for you automatically. So it’s less work than it sounds.
Connect Your Email Account
This is the step that actually makes everything work. You’ll need to link your email account to the plugin, so WordPress has permission to send through it.
For Gmail and Outlook, this just means logging in and clicking allow. Takes a minute, but don’t skip it — this is what makes the whole thing reliable.
Send a Test Email
Once it’s all connected, there’s a test email option inside the plugin. Send one and check if it lands in your inbox.
If it does, you’re done. If it goes to spam, double-check your settings.
If it doesn’t arrive at all, the things most likely causing it are a wrong password, incorrect SMTP settings, or your hosting blocking outgoing email connections. If this seems too technical, you can always hire an Indian WordPress support agency to help you out.
Final Thoughts
SMTP sounds technical, but it genuinely takes about 15 minutes to set up and saves you a lot of trouble later on.
Most people only realise their emails aren’t working after something has already gone wrong — a customer didn’t get their order confirmation, a user couldn’t reset their password, or a contact form just went silent. By then, it’s already caused a problem.
Setting this up early means none of that happens. Emails go out properly, they land in inboxes instead of spam, and you’re not left guessing whether something got delivered or not. Once it’s done, you pretty much never have to think about it again.
Recommended post: wp-admin Not Accessible? Step-by-Step Troubleshooting Guide


